

Installing a drum brake bridge is a crucial process that requires precision and a good understanding of the components involved. As a drum brake bridge supplier, I've seen firsthand the importance of proper installation to ensure the safety and performance of vehicles. In this blog post, I'll guide you through the step-by-step process of installing a drum brake bridge, providing valuable insights and tips along the way.
Understanding the Drum Brake Bridge
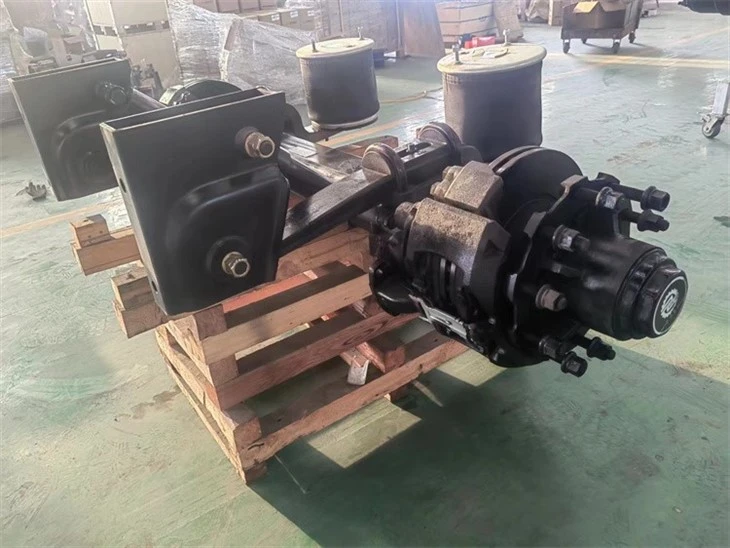
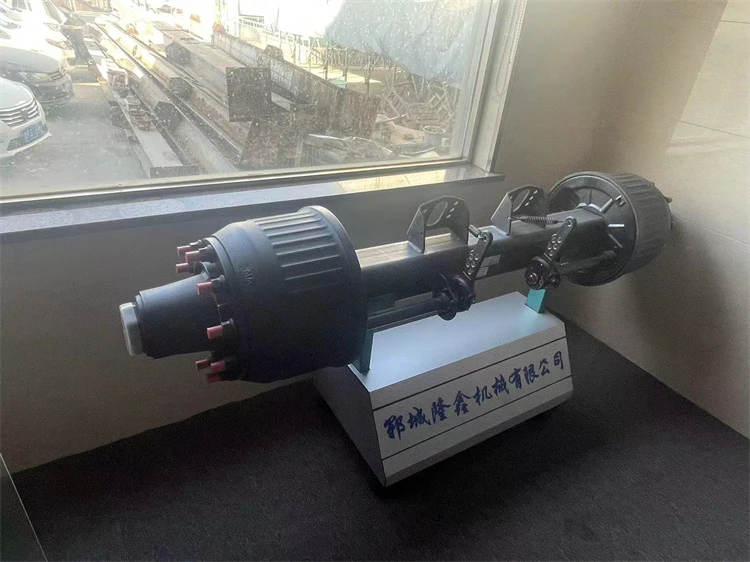
Before we dive into the installation process, let's take a moment to understand what a drum brake bridge is and its role in the braking system. A drum brake bridge is a key component of the drum brake system, which is commonly used in many vehicles, especially in older models and some heavy-duty applications. It serves as a support structure for the brake shoes, wheel cylinder, and other brake components, allowing them to function together effectively.
The drum brake bridge is typically made of high-quality steel or other durable materials to withstand the forces and stresses generated during braking. It is designed to provide a stable platform for the brake components, ensuring proper alignment and operation. A well-designed and properly installed drum brake bridge is essential for reliable braking performance and vehicle safety.
Tools and Materials Needed
Before you begin the installation process, it's important to gather all the necessary tools and materials. Here's a list of items you'll need:
- Socket and wrench set
- Torque wrench
- Brake spring pliers
- Brake cleaner
- Grease
- New drum brake bridge
- New brake shoes
- New wheel cylinder
- New brake hardware (springs, clips, etc.)
Step-by-Step Installation Process
Step 1: Prepare the Vehicle
The first step in installing a drum brake bridge is to prepare the vehicle. Park the vehicle on a level surface and engage the parking brake. Loosen the lug nuts on the wheel where you'll be installing the drum brake bridge, but don't remove them completely. Then, use a jack to lift the vehicle and support it securely on jack stands. Make sure the vehicle is stable before proceeding.
Step 2: Remove the Wheel and Brake Drum
Once the vehicle is safely supported, remove the lug nuts and take off the wheel. Next, locate the brake drum and remove any retaining screws or clips that are holding it in place. If the brake drum is stuck, you can use a rubber mallet to gently tap it around the edges to loosen it. Once the brake drum is free, carefully remove it from the hub.
Step 3: Remove the Old Brake Components
With the brake drum removed, you'll have access to the old brake components. Start by removing the brake shoes, wheel cylinder, and any other hardware. Use brake spring pliers to remove the springs and clips that are holding the brake shoes in place. Be careful not to lose any of the small parts, as they will be needed for the new installation.
Step 4: Clean the Hub and Components
Before installing the new drum brake bridge and brake components, it's important to clean the hub and all the components thoroughly. Use brake cleaner to remove any dirt, grease, or brake dust from the hub, brake shoes, wheel cylinder, and other parts. This will ensure proper operation and prevent any contaminants from affecting the braking performance.
Step 5: Install the New Drum Brake Bridge
Now it's time to install the new drum brake bridge. Carefully position the drum brake bridge on the hub, aligning the holes with the mounting studs. Make sure the drum brake bridge is centered and level. Then, use a socket and wrench set to tighten the mounting nuts or bolts to the manufacturer's recommended torque specifications. It's important to use a torque wrench to ensure that the nuts or bolts are tightened to the correct torque, as over-tightening or under-tightening can lead to problems.
Step 6: Install the New Brake Shoes and Hardware
Once the drum brake bridge is installed, it's time to install the new brake shoes and hardware. Start by installing the wheel cylinder on the drum brake bridge, using the appropriate bolts or clips to secure it in place. Then, install the brake shoes, making sure they are properly aligned and seated on the wheel cylinder and the drum brake bridge. Use brake spring pliers to install the springs and clips that hold the brake shoes in place.
Step 7: Adjust the Brake Shoes
After installing the brake shoes, it's important to adjust them to ensure proper clearance and operation. Use a brake adjustment tool to adjust the brake shoes until they just touch the inside of the brake drum. Then, back off the adjustment slightly to allow for proper clearance. This will ensure that the brakes engage smoothly and evenly.
Step 8: Reinstall the Brake Drum and Wheel
Once the brake shoes are adjusted, it's time to reinstall the brake drum and wheel. Carefully place the brake drum over the hub, making sure it fits snugly. Then, reinstall the retaining screws or clips to hold the brake drum in place. Next, reinstall the wheel and tighten the lug nuts to the manufacturer's recommended torque specifications.
Step 9: Bleed the Brake System
After installing the new drum brake bridge and brake components, it's important to bleed the brake system to remove any air bubbles. This will ensure that the brakes operate properly and provide reliable stopping power. To bleed the brake system, you'll need a brake bleeding kit and a helper. Follow the manufacturer's instructions for bleeding the brake system, starting with the wheel farthest from the master cylinder and working your way towards the master cylinder.
Step 10: Test the Brakes
Once the brake system is bled, it's time to test the brakes. Lower the vehicle from the jack stands and start the engine. Pump the brake pedal a few times to build up pressure, and then test the brakes at a low speed in a safe area. Make sure the brakes engage smoothly and evenly, and that there are no unusual noises or vibrations. If you notice any problems, stop the vehicle immediately and have the brakes checked by a professional.
Tips and Considerations
- Follow the Manufacturer's Instructions: Always refer to the manufacturer's instructions when installing a drum brake bridge and brake components. This will ensure that you install the parts correctly and avoid any potential problems.
- Use High-Quality Parts: When replacing brake components, it's important to use high-quality parts from a reputable supplier. This will ensure that the brakes perform reliably and last longer.
- Inspect the Components Regularly: After installing a new drum brake bridge and brake components, it's important to inspect them regularly for wear and damage. This will help you identify any potential problems early and prevent them from becoming major issues.
- Seek Professional Help if Needed: If you're not comfortable installing a drum brake bridge or brake components yourself, it's best to seek professional help. A qualified mechanic will have the experience and tools necessary to install the parts correctly and ensure that the brakes operate safely.
Related Products
As a drum brake bridge supplier, we also offer a range of other high-quality axle products, including High Quality German Axle, Disc Brake Axl, and High Quality Concave Axle. These products are designed to provide reliable performance and durability, and they are suitable for a variety of applications.
Contact Us for Purchase and Consultation
If you're interested in purchasing a drum brake bridge or any of our other axle products, or if you have any questions or need further information, please don't hesitate to contact us. Our team of experts is always ready to assist you and provide you with the best solutions for your needs.
References
- "Automotive Brake Systems" by James D. Halderman
- "Brake Handbook" by Haynes Publishing Group


