

Hey there, fellow trailer enthusiasts! I'm a supplier of trailer axles, and today I'm gonna share with you how to adjust the brakes on a trailer axle. It's an important maintenance task that can keep you and your cargo safe on the road. So, let's dive right in!
Why Brake Adjustment Matters
First off, you might be wondering why it's so crucial to adjust your trailer axle brakes. Well, over time, the brake pads wear down, and the clearance between the pads and the brake drum increases. This can lead to reduced braking efficiency, longer stopping distances, and even brake failure in extreme cases. Regular brake adjustment ensures that your brakes are working at their best, giving you peace of mind when you're towing.
Tools You'll Need
Before you start adjusting the brakes, you'll need a few tools. Here's what you should have on hand:
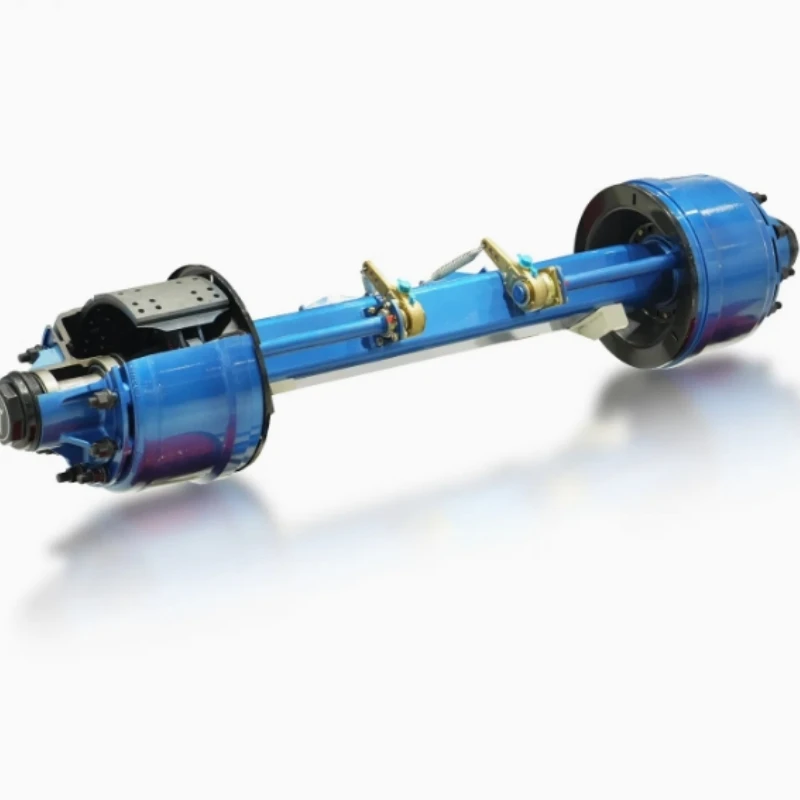

- Socket set: You'll need various socket sizes to remove the wheel and access the brake components.
- Brake adjustment tool: This is a special tool designed to adjust the brake shoes. You can usually find one at your local auto parts store.
- Jack and jack stands: You'll need to lift the trailer off the ground to access the brakes. Make sure to use proper safety equipment and follow the manufacturer's instructions.
- Flashlight: It can be dark inside the brake drum, so a flashlight will help you see what you're doing.
- Cleaning supplies: You might want to clean the brake components while you're working on them. Brake cleaner and a wire brush can come in handy.
Step-by-Step Brake Adjustment Process
Now that you have your tools ready, let's go through the step-by-step process of adjusting the brakes on a trailer axle.
Step 1: Prepare the Trailer
- Park the trailer on a level surface and engage the parking brake.
- Use the jack to lift the trailer axle and support it with jack stands. Make sure the trailer is stable and secure before proceeding.
- Remove the wheel by loosening the lug nuts with the socket set. Set the wheel aside in a safe place.
Step 2: Access the Brake Assembly
- Locate the brake drum on the axle. It's usually a large, round metal component attached to the wheel hub.
- Look for the access hole on the back of the brake drum. This is where you'll insert the brake adjustment tool.
- Use the flashlight to illuminate the inside of the brake drum and check for any signs of damage or excessive wear.
Step 3: Adjust the Brake Shoes
- Insert the brake adjustment tool into the access hole and turn it in the direction indicated by the manufacturer. This will expand the brake shoes and increase the pressure against the brake drum.
- As you turn the adjustment tool, you'll feel the brake shoes tightening against the drum. Keep turning the tool until you feel a slight drag when you try to rotate the drum by hand.
- Be careful not to over-adjust the brakes, as this can cause them to bind and overheat. You want to achieve a balance between enough braking force and smooth operation.
Step 4: Check the Brake Clearance
- Once you've adjusted the brakes, use a feeler gauge to check the clearance between the brake shoes and the drum. The manufacturer's specifications will tell you the correct clearance for your trailer axle.
- If the clearance is too large, you'll need to adjust the brakes further. If it's too small, you may need to back off the adjustment slightly.
- Repeat the adjustment process until the clearance is within the recommended range.
Step 5: Reassemble the Brake Assembly
- Once you're satisfied with the brake adjustment, remove the brake adjustment tool from the access hole.
- Clean the brake components with the brake cleaner and wire brush to remove any dirt or debris.
- Reinstall the wheel and tighten the lug nuts to the manufacturer's specifications.
- Lower the trailer off the jack stands and remove the jack.
Tips and Tricks
- Regular maintenance: Brake adjustment is just one part of regular trailer maintenance. Make sure to inspect your brakes regularly for signs of wear and tear, and replace the brake pads and shoes as needed.
- Use the right tools: Using the correct tools for the job will make the brake adjustment process easier and more accurate. Don't try to use makeshift tools or shortcuts.
- Follow the manufacturer's instructions: Every trailer axle is different, so it's important to follow the manufacturer's instructions for brake adjustment. This will ensure that you're doing it correctly and safely.
- Test the brakes: After you've adjusted the brakes, take the trailer for a test drive to make sure the brakes are working properly. Pay attention to how the trailer stops and if there are any unusual noises or vibrations.
Our Trailer Axle Products
As a trailer axle supplier, we offer a wide range of high-quality axles to meet your needs. Whether you're looking for a Lowbed Series Axle, a German Style Axle, or a 10T Lightweight Axle, we've got you covered. Our axles are designed and manufactured to the highest standards, ensuring reliability and performance on the road.
Contact Us for Purchase
If you're interested in purchasing trailer axles or have any questions about brake adjustment or our products, don't hesitate to contact us. We're here to help you find the right axle for your trailer and provide you with the support you need.
References
- Trailer Axle Manufacturer's Manual
- Automotive Repair Manuals
- Online Resources for Trailer Maintenance


