

Connecting external support legs to equipment is a crucial task that ensures stability, safety, and proper functionality. As a supplier of external support legs, I've encountered various scenarios and questions from customers regarding this process. In this blog post, I'll guide you through the step - by - step process of connecting external support legs to your equipment, sharing insights and best practices along the way.
Understanding the Basics of External Support Legs
Before we delve into the connection process, it's essential to understand what external support legs are and why they are necessary. External support legs are additional structures that provide extra stability to equipment, especially when it is stationary or under load. They are commonly used in trailers, heavy machinery, and other large - scale equipment.
There are different types of external support legs, each designed for specific applications. For example, some are adjustable in height, allowing you to level the equipment on uneven surfaces. Others are designed to bear heavy loads, providing robust support for large and heavy machinery.
External support legs offer several benefits. Firstly, they enhance the stability of the equipment, reducing the risk of tipping over. This is particularly important for equipment that is tall or has a high center of gravity. Secondly, they help distribute the weight of the equipment evenly, preventing excessive stress on any single part of the structure. This can extend the lifespan of the equipment and reduce the likelihood of damage.
Pre - installation Preparations
Before you start connecting the external support legs to your equipment, you need to make some preparations.
- Inspect the Equipment: Thoroughly examine the equipment to which you plan to attach the support legs. Look for any signs of damage, such as cracks, dents, or rust. If there are any issues, address them before proceeding with the installation. This will ensure that the support legs are attached to a stable and secure base.
- Measure and Plan: Determine the appropriate location for the support legs. Measure the distance between the mounting points on the equipment and the support legs to ensure a proper fit. Consider the weight distribution of the equipment and place the support legs in positions that will provide the most effective support.
- Gather the Necessary Tools: You'll need a set of tools for the installation process. Common tools include wrenches, screwdrivers, drills, and measuring tapes. Make sure you have all the tools on hand before you start.
Step - by - Step Installation Process
Now that you've completed the pre - installation preparations, it's time to connect the external support legs to the equipment.
- Position the Support Legs: Place the support legs in the pre - determined positions on the equipment. Make sure they are aligned correctly and that the mounting holes on the support legs match the holes on the equipment.
- Attach the Support Legs: Use the appropriate fasteners, such as bolts or screws, to attach the support legs to the equipment. Start by inserting the fasteners through the holes and tightening them slightly. Do not fully tighten them at this stage, as you may need to make some adjustments.
- Check the Alignment: Once the support legs are loosely attached, check the alignment. Ensure that the support legs are vertical and that the equipment is level. You can use a level tool to assist with this process. If necessary, make small adjustments to the position of the support legs until the equipment is level.
- Tighten the Fasteners: After verifying the alignment, fully tighten the fasteners. Use a torque wrench to ensure that the fasteners are tightened to the recommended torque specification. This will prevent the support legs from coming loose during use.
- Test the Stability: Once the support legs are securely attached, test the stability of the equipment. Apply some gentle pressure to the equipment to see how it responds. If the equipment feels stable and does not wobble, the installation is successful.
Troubleshooting Common Issues
During the installation process, you may encounter some common issues. Here are some solutions to help you overcome them.
- Misaligned Holes: If the holes on the support legs and the equipment do not align properly, you may need to make some adjustments. You can try using a drill to enlarge the holes slightly, but be careful not to make them too large. Another option is to use shims to fill the gaps between the holes.
- Difficulty Tightening Fasteners: If you're having trouble tightening the fasteners, it could be due to a few reasons. The fasteners may be the wrong size, or there may be debris in the holes. Check the size of the fasteners and make sure they are the correct ones for the application. Clean the holes to remove any debris before attempting to tighten the fasteners again.
- Uneven Weight Distribution: If the equipment is not level after the support legs are attached, it may be due to uneven weight distribution. Try redistributing the weight of the equipment by moving some of the items on or in the equipment. You can also adjust the height of the support legs to compensate for the uneven weight.
Maintenance and Safety Considerations
After connecting the external support legs to the equipment, it's important to perform regular maintenance and follow safety guidelines.
- Regular Inspections: Periodically inspect the support legs for any signs of wear, damage, or corrosion. Check the fasteners to ensure they are still tight. If you notice any issues, address them immediately.
- Lubrication: If the support legs have moving parts, such as adjustable sections, lubricate them regularly to ensure smooth operation. Use a suitable lubricant recommended by the manufacturer.
- Safety Precautions: When using equipment with external support legs, always follow the safety guidelines. Do not overload the equipment, and make sure the support legs are properly set up before use. If you're working on uneven terrain, take extra precautions to ensure the stability of the equipment.
Related Products and Their Benefits
In addition to external support legs, there are other related products that can enhance the functionality and safety of your equipment. For example, Built - in Support Legs offer a more integrated solution, providing stability directly from the equipment's structure. These legs are often designed to be more compact and may be suitable for equipment where space is limited.
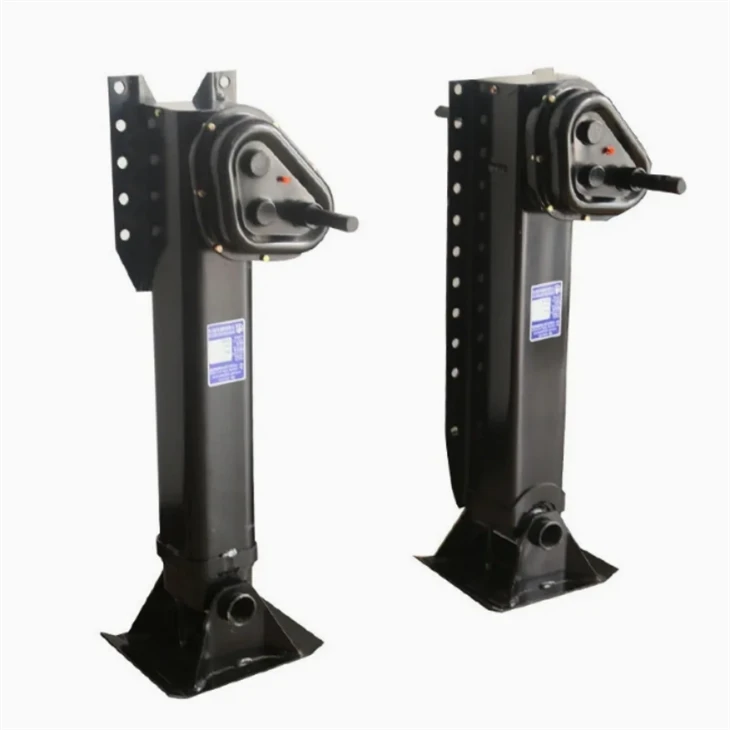
Landing Gear is another important product. It is commonly used in trailers to support the front end when the trailer is detached from the towing vehicle. Landing gear provides reliable support and can be adjusted to different heights, making it suitable for various trailer types.

Axle Brake Pads are also crucial for the safety of equipment. They help to slow down or stop the movement of the equipment, especially in trailers. High - quality axle brake pads ensure effective braking performance and can prevent accidents.
Conclusion
Connecting external support legs to equipment is a relatively straightforward process if you follow the proper steps and take the necessary precautions. By ensuring a stable and secure installation, you can enhance the safety and functionality of your equipment. If you have any questions or need further assistance with the installation of external support legs, or if you're interested in purchasing high - quality external support legs, please feel free to contact us for procurement and negotiation. We're here to help you find the best solutions for your equipment needs.
References
- "Equipment Installation and Maintenance Guide", Industry Standard Handbook
- "External Support Legs: Design and Application", Journal of Engineering and Equipment


