

Hey there! I'm a supplier of lightweight axles, and I know how frustrating it can be when you've got a damaged lightweight axle on your hands. But don't worry, I'm here to walk you through the process of repairing it.
First off, let's talk about why you might have a damaged lightweight axle in the first place. There are a few common reasons. Maybe you've been overloading your trailer, which puts extra stress on the axle. Or perhaps you've hit a pothole or some other obstacle on the road, causing impact damage. Sometimes, just normal wear and tear over time can also lead to problems.
Before you start any repair work, you need to do a thorough inspection of the axle. Look for visible signs of damage like cracks, bends, or excessive rust. Check the bearings, seals, and the mounting points as well. If you're not sure what you're looking for, it might be a good idea to take some pictures and send them to a professional for a second opinion. You can also refer to the product manual that came with your Lightweight Trailer Axles for more detailed inspection guidelines.
Once you've identified the problem, it's time to gather your tools. You'll typically need a socket set, a torque wrench, a jack, jack stands, a hammer, and some lubricant. Make sure you have all the necessary replacement parts on hand too. If you're replacing the bearings, for example, you'll need new bearings, seals, and grease.
Let's start with the basics. If the axle is bent, it's usually best to replace it. Bending can weaken the structure of the axle, and trying to straighten it might not be safe. However, if the damage is minor, like a small dent, you might be able to use a hammer and a block of wood to gently tap it back into shape. Just be careful not to overdo it.
Now, let's talk about the bearings. Bearings are a crucial part of the axle, and they can wear out over time. To replace the bearings, you'll first need to remove the wheel. Use the jack to lift the trailer and place the jack stands securely under the frame. Then, use the socket set to remove the lug nuts and take off the wheel.
Next, you'll need to remove the bearing cap. This is usually held on by a few bolts. Once the cap is off, you can access the bearings. Use a bearing puller to remove the old bearings. Be careful not to damage the axle shaft while doing this.
Before installing the new bearings, make sure to clean the axle shaft thoroughly. Use a degreaser to remove any old grease and dirt. Then, apply a generous amount of new grease to the bearings. You can use a bearing packing tool to make this job easier.
Slide the new bearings onto the axle shaft, making sure they're properly seated. Then, install the new seals. The seals help keep the grease in and the dirt out. Make sure they're installed correctly and are tight.
Reinstall the bearing cap and torque the bolts to the manufacturer's specifications. You can find these specifications in the product manual or on the manufacturer's website.
Now, let's move on to the mounting points. If the mounting points are damaged, it can affect the stability of the axle. Check for any cracks or loose bolts. If you find any problems, you'll need to repair or replace the mounting brackets.
To repair a cracked mounting bracket, you can use a welding kit if you have the skills. Make sure to follow all safety precautions when welding. If you're not comfortable welding, you can replace the mounting bracket with a new one.
When reinstalling the axle, make sure it's properly aligned. Use a straightedge to check the alignment of the axle with the frame. If the axle is not aligned correctly, it can cause uneven tire wear and handling problems.
Once the axle is installed, lower the trailer off the jack stands and tighten the lug nuts to the correct torque. You can use a torque wrench to ensure accuracy.
After the repair is complete, it's a good idea to take the trailer for a short test drive. Listen for any unusual noises or vibrations. If you notice anything, stop the vehicle immediately and check for any problems.
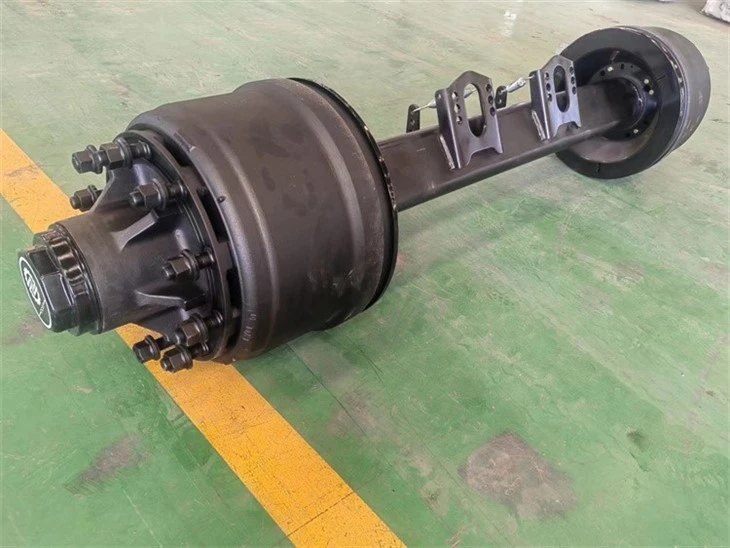
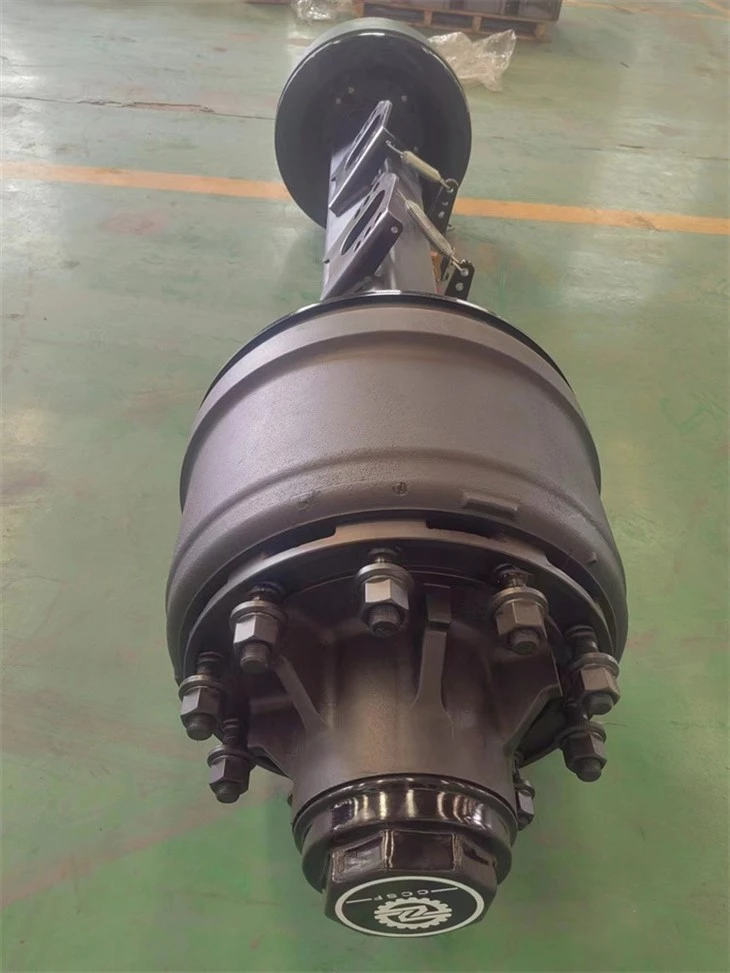
If you're dealing with a 10 Ton Lightweight Axle, the repair process is similar, but you might need some heavier-duty tools and equipment. Make sure you have the right tools for the job to ensure a safe and successful repair.
We also offer American-style Suspension Kits that can enhance the performance and durability of your lightweight axles. These kits are designed to provide a smoother ride and better handling.
If you're in the market for new lightweight axles or need any replacement parts, don't hesitate to reach out. We're here to help you find the right products for your needs. Whether you're a professional trailer builder or a DIY enthusiast, we've got you covered.
In conclusion, repairing a damaged lightweight axle can be a challenging but rewarding task. By following these steps and using the right tools and parts, you can get your trailer back on the road in no time. If you have any questions or need further assistance, feel free to contact us. We're always happy to help.
References
- Trailer Axle Manufacturer's Manuals
- Automotive Repair Guides


