

Hey there! As a supplier of drum brake bridges, I often get asked about the adjustment procedure for these crucial components. In this blog, I'm gonna break down the step - by - step process to help you understand how to properly adjust a drum brake bridge.
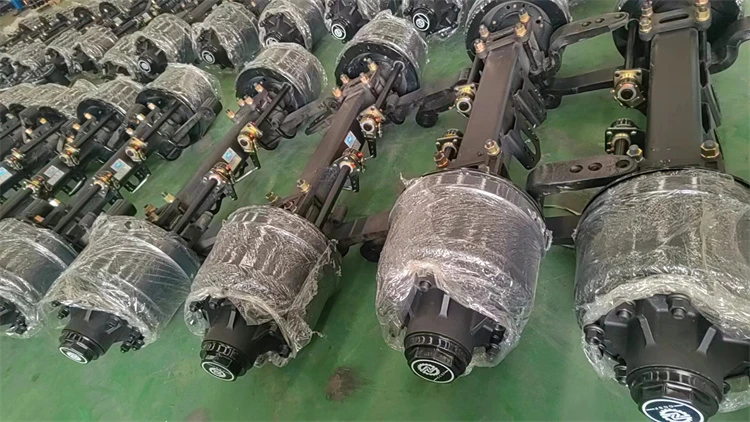
First off, let's talk a bit about what a drum brake bridge is. A drum brake bridge is an essential part of a vehicle's braking system. It helps to support and position the drum brakes, ensuring that they work efficiently and safely. If you're in the market for a high - quality drum brake bridge, you can check out our Drum Brake Bridge.
Pre - adjustment Checks
Before you start adjusting the drum brake bridge, there are a few things you need to do. First, make sure the vehicle is parked on a level surface and the parking brake is engaged. This is super important for your safety. You don't want the vehicle rolling while you're working on it.
Next, remove the wheel that covers the drum brake. You'll need a jack to lift the vehicle and a lug wrench to remove the wheel nuts. Once the wheel is off, you'll have clear access to the drum brake assembly.
Inspect the brake drum for any signs of wear, cracks, or damage. If the drum is worn beyond the manufacturer's specifications, it might need to be replaced. You also want to check the brake shoes for thickness. If they're too thin, they won't provide proper braking force, and you'll need to replace them as well.
Adjusting the Drum Brake Bridge
Now, let's get into the actual adjustment process. The main goal of adjusting the drum brake bridge is to ensure that the brake shoes are properly positioned within the brake drum and that there's the right amount of clearance between the shoes and the drum.
Step 1: Backing Off the Adjuster
Most drum brake systems have an adjuster mechanism. This is usually a star wheel located at the bottom of the brake assembly. Use a brake spoon or a flat - tip screwdriver to turn the star wheel counter - clockwise. This will back off the adjuster and increase the clearance between the brake shoes and the drum. You want to do this until you can freely rotate the brake drum by hand.
Step 2: Setting the Initial Clearance
Once the drum can rotate freely, you need to set the initial clearance. Start by turning the star wheel clockwise in small increments. As you turn the wheel, you'll feel the brake shoes gradually moving closer to the drum. Keep turning until you just start to feel a slight drag when you rotate the drum. This indicates that the brake shoes are almost touching the drum.
Step 3: Fine - Tuning the Clearance
After setting the initial clearance, you need to fine - tune it. You want to have just the right amount of clearance so that the brakes work effectively but don't drag when the vehicle is moving. Rotate the drum a few times and then turn the star wheel a little more or a little less as needed. You're looking for a situation where the drum rotates smoothly but still has a very slight drag.
Step 4: Checking the Brake Operation
Once you're satisfied with the clearance, it's time to check the brake operation. Lower the vehicle back to the ground and put the wheel back on. Tighten the lug nuts securely. Then, pump the brake pedal a few times to build up the hydraulic pressure in the system.

Take the vehicle for a short test drive in a safe area. Apply the brakes gently at low speeds. You should feel a firm and consistent braking force. If the brakes feel spongy or if there's a pulling to one side, you might need to readjust the drum brake bridge or check for other issues in the braking system.
Axle Compatibility
It's also important to note that the drum brake bridge needs to be compatible with the axle. Different axles have different specifications, and using an incompatible drum brake bridge can lead to poor braking performance or even safety issues.
If you're looking for high - quality axles to pair with your drum brake bridges, we offer High Quality German Axle and High Quality Concave Axle. These axles are designed to work seamlessly with our drum brake bridges, ensuring optimal performance and safety.
Final Thoughts
Adjusting a drum brake bridge might seem a bit complicated at first, but with the right tools and a little patience, you can do it yourself. Just remember to follow the steps carefully and always prioritize safety.
If you're having any trouble with the adjustment process or if you're interested in purchasing our drum brake bridges or axles, don't hesitate to reach out. We're here to help you with all your braking system needs. Whether you're a professional mechanic or a DIY enthusiast, we've got the products and expertise to support you.
References
- Automotive Brake Systems Manuals
- Manufacturer's Specifications for Drum Brake Bridges and Axles


