

When it comes to replacing axle brake pads, one crucial step that often gets overlooked is checking the brake caliper. As an axle brake pads supplier, I've seen firsthand the importance of a properly functioning brake caliper in ensuring the safety and performance of a vehicle's braking system. In this blog post, I'll guide you through the process of checking the brake caliper when replacing axle brake pads, sharing valuable insights and tips along the way.
Understanding the Brake Caliper
Before we dive into the checking process, let's briefly understand what a brake caliper is and how it works. The brake caliper is a key component of the disc brake system, which is commonly used in modern vehicles. Its primary function is to squeeze the brake pads against the brake rotor, creating friction that slows down or stops the vehicle.
There are two main types of brake calipers: floating calipers and fixed calipers. Floating calipers are more common and simpler in design. They slide on guide pins and use a single piston to apply pressure to the inner brake pad, which then pushes the rotor against the outer brake pad. Fixed calipers, on the other hand, are more complex and typically found in high-performance vehicles. They have multiple pistons on both sides of the rotor, providing more even pressure distribution and better braking performance.
Preparing for the Inspection
Before you start checking the brake caliper, it's important to take some safety precautions. Make sure the vehicle is parked on a level surface and the parking brake is engaged. If you're working on a raised vehicle, use jack stands to support it securely. Also, wear appropriate safety gear, such as gloves and safety glasses, to protect yourself from any potential hazards.
You'll also need a few tools for the inspection, including a socket set, a torque wrench, a caliper piston tool, and a brake cleaner. Having these tools on hand will make the process smoother and more efficient.
Step-by-Step Brake Caliper Inspection
1. Remove the Wheel
The first step in checking the brake caliper is to remove the wheel. Use the socket set to loosen the lug nuts on the wheel, then use a jack to raise the vehicle and remove the wheel completely. This will give you clear access to the brake caliper and other components of the braking system.
2. Inspect the Caliper Mounting Bolts
Once the wheel is removed, visually inspect the caliper mounting bolts. Look for any signs of damage, such as cracks, corrosion, or loose bolts. If you notice any issues, it's important to address them immediately. Loose or damaged mounting bolts can cause the caliper to move or become misaligned, which can lead to uneven brake pad wear and reduced braking performance.
Use the torque wrench to check the tightness of the mounting bolts. Refer to the vehicle's service manual for the recommended torque specifications. If the bolts are loose, tighten them to the proper torque using the torque wrench.
3. Check the Caliper Slides and Guide Pins
Next, inspect the caliper slides and guide pins. These components allow the caliper to move freely and ensure proper alignment with the brake rotor. Look for any signs of wear, corrosion, or damage on the slides and guide pins. If they are dirty or rusty, clean them using a brake cleaner and a wire brush.
If the slides or guide pins are severely worn or damaged, they should be replaced. Worn slides or guide pins can cause the caliper to stick, which can lead to uneven brake pad wear and overheating of the brakes.
4. Inspect the Caliper Piston
The caliper piston is responsible for applying pressure to the brake pads. To inspect the piston, use a caliper piston tool to compress it back into the caliper bore. This will also make it easier to remove the old brake pads.
While compressing the piston, check for any signs of leakage or damage. If you notice any fluid leaking from the piston or the caliper, it indicates a problem with the seals or the piston itself. In this case, the caliper may need to be rebuilt or replaced.
5. Examine the Brake Hoses
The brake hoses carry brake fluid from the master cylinder to the caliper. Inspect the brake hoses for any signs of damage, such as cracks, bulges, or leaks. Damaged brake hoses can cause a loss of brake fluid pressure, which can result in reduced braking performance or even complete brake failure.
If you find any issues with the brake hoses, they should be replaced immediately. It's also a good idea to inspect the hose connections for tightness and make sure there are no signs of corrosion or damage.
6. Check the Brake Rotor
While you're inspecting the brake caliper, it's a good time to check the brake rotor as well. Look for any signs of wear, such as grooves, scoring, or warping. A worn or damaged brake rotor can cause uneven brake pad wear, vibration, and reduced braking performance.
If the rotor is severely worn or damaged, it may need to be resurfaced or replaced. You can use a micrometer to measure the thickness of the rotor and compare it to the manufacturer's specifications. If the rotor is below the minimum thickness, it should be replaced.
Reassembling the Brake System
After you've completed the inspection and addressed any issues, it's time to reassemble the brake system. Install the new brake pads according to the manufacturer's instructions. Make sure they are properly seated in the caliper and aligned with the brake rotor.
Use the caliper piston tool to compress the piston back into the caliper bore until the new brake pads fit snugly against the rotor. This will also ensure proper clearance between the pads and the rotor.
Reinstall the caliper onto the mounting bracket and tighten the mounting bolts to the proper torque using the torque wrench. Reconnect the brake hose and make sure it is securely fastened.
Finally, reinstall the wheel and tighten the lug nuts to the recommended torque. Lower the vehicle to the ground and test the brakes to make sure they are working properly.
Importance of Regular Brake Caliper Inspections
Regular brake caliper inspections are essential for maintaining the safety and performance of your vehicle's braking system. By checking the caliper for signs of wear, damage, or leakage, you can identify and address potential issues before they become major problems.
Ignoring brake caliper issues can lead to a variety of problems, including uneven brake pad wear, reduced braking performance, overheating of the brakes, and even brake failure. By performing regular inspections and maintenance, you can extend the lifespan of your brake components and ensure the safety of yourself and your passengers.
Related Trailer Accessories
If you're interested in other trailer accessories, you might want to check out the following links:
- Landing Gear: These are essential for providing stability and support to your trailer when it's parked.
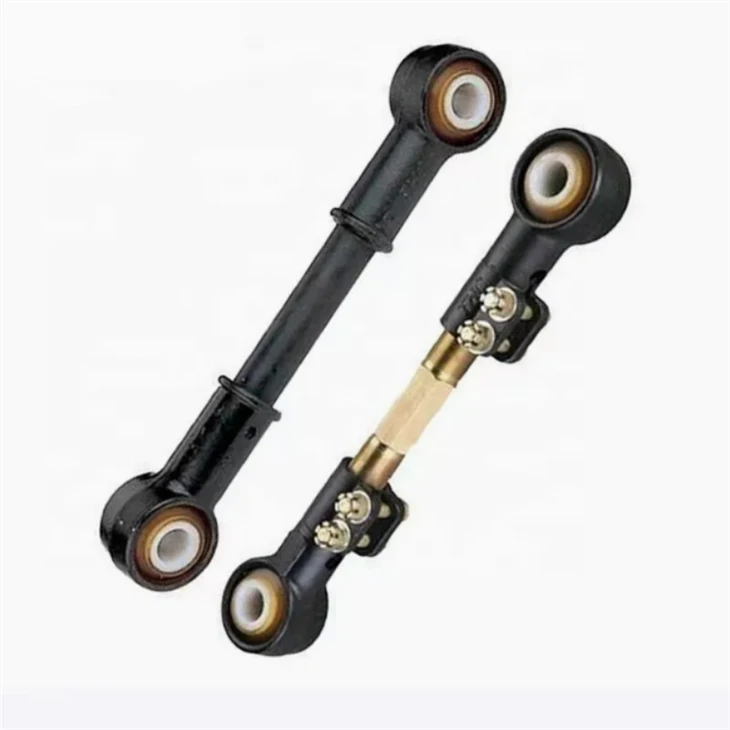
- American Suspension Pull Rod: This component helps to improve the suspension and handling of your trailer.
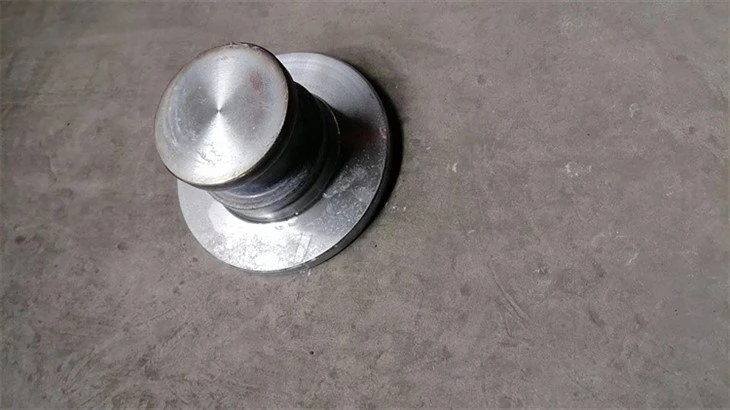
- Semi-trailer King Pin: The king pin is a critical part of the coupling system between the tractor and the semi-trailer.
Contact Us for Axle Brake Pads
As an axle brake pads supplier, we offer high-quality brake pads that are designed to provide reliable performance and long-lasting durability. If you're in the market for new axle brake pads or have any questions about brake caliper inspections, please don't hesitate to contact us. We're here to help you find the right brake pads for your vehicle and ensure the safety of your braking system.
References
- Haynes Repair Manuals: These manuals provide detailed information on vehicle maintenance and repair, including brake system inspections.
- Automotive Service Excellence (ASE) Training Materials: ASE offers comprehensive training and certification programs for automotive technicians, including courses on brake system diagnosis and repair.
- Vehicle Manufacturer's Service Manuals: These manuals contain specific information on the maintenance and repair of your vehicle, including brake caliper inspection procedures and torque specifications.